General
Everything You Need To Know About Installing Low Profile LED Lights In Your Kitchen


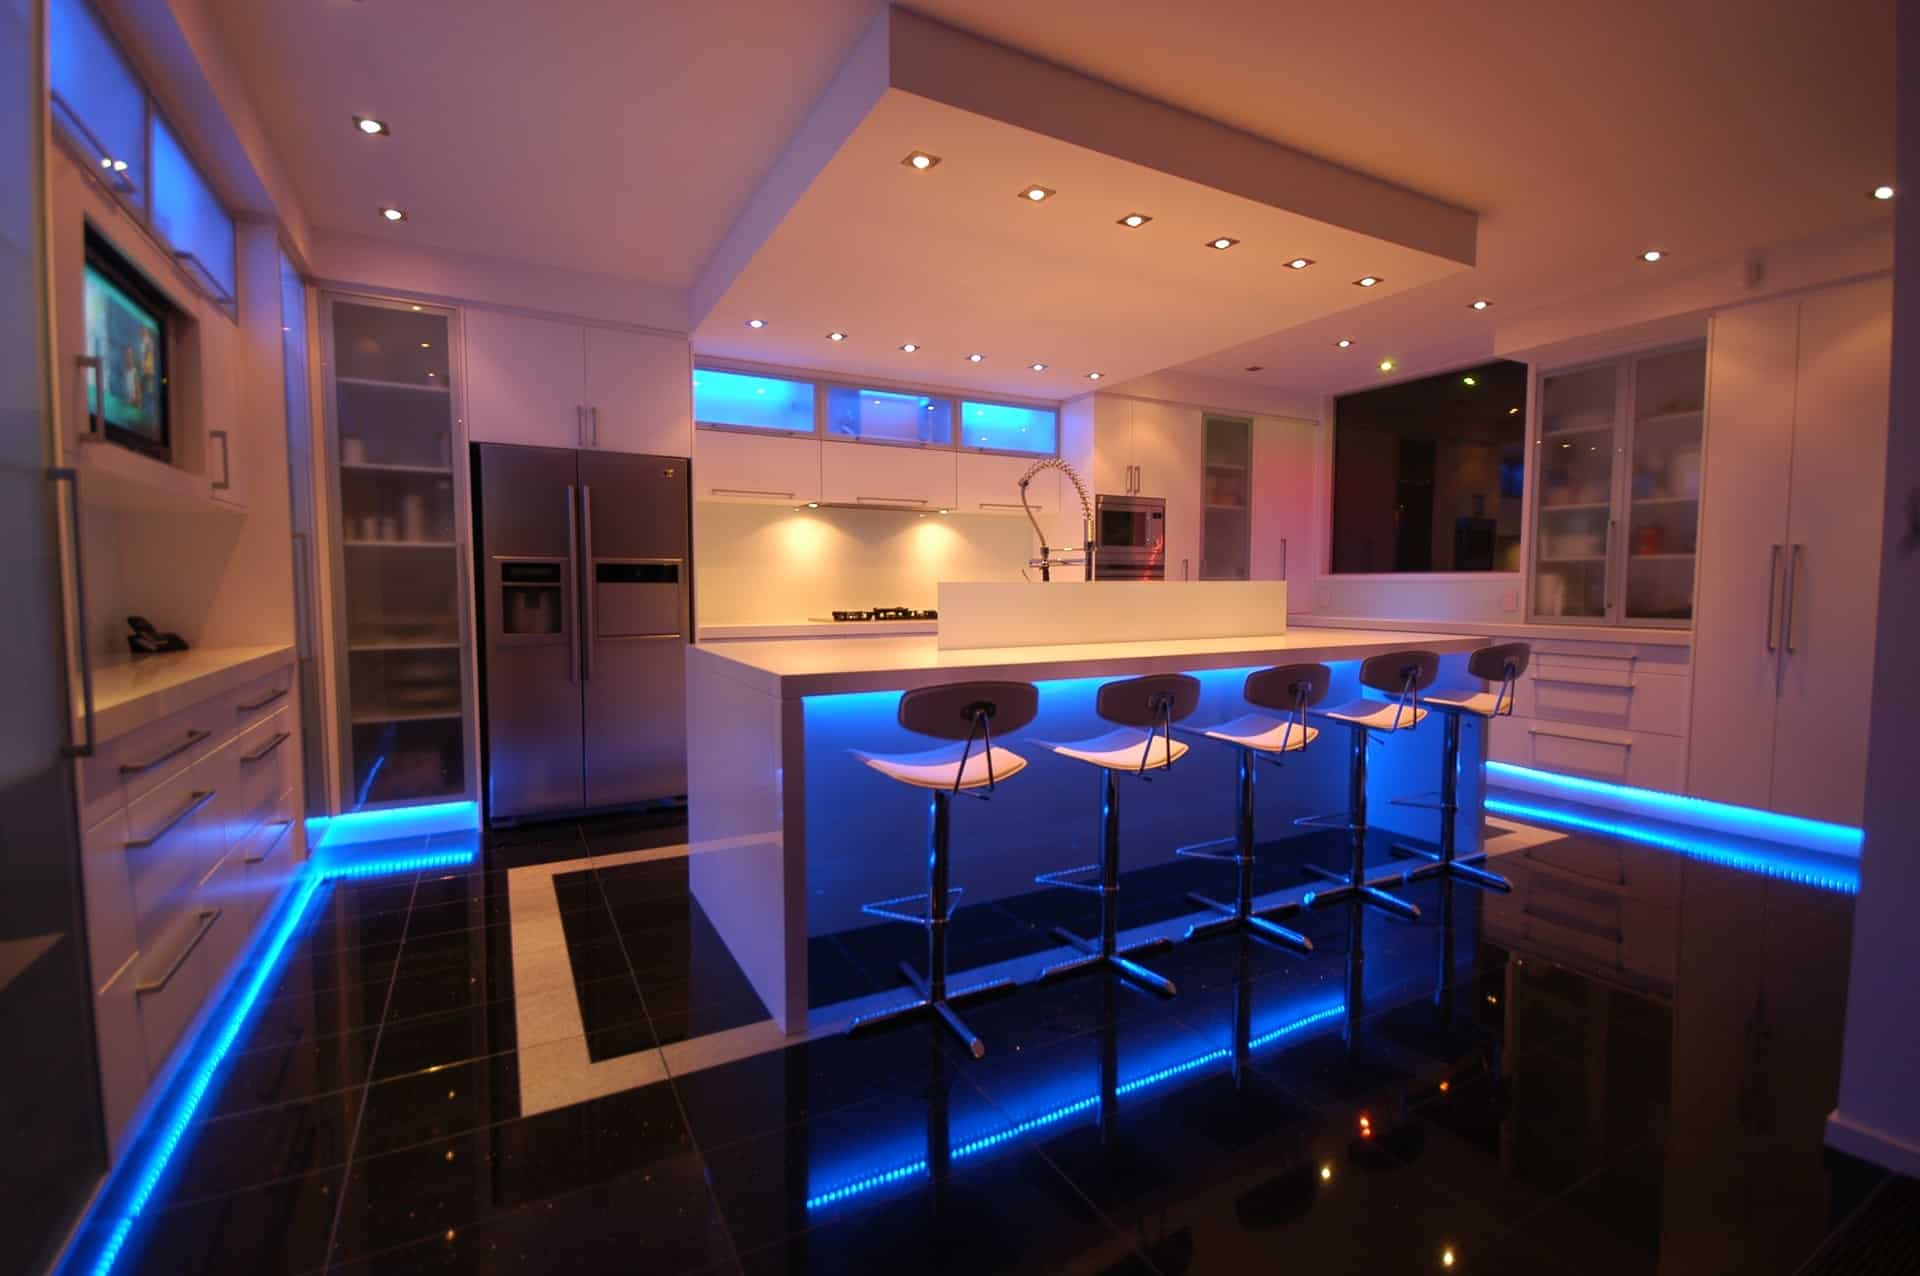
The kitchen is one of the most used rooms in any home. In fact, in many respects, it is still considered to be the heart of your home. It’s more than just a place to cook, most homes are arranged so that the kitchen is the first room you step into and it’s where the family meets and talks every day.
It’s therefore logical that you’ll want to make your kitchen look as good as possible. A big part of that is getting the lighting right, and low-profile LED lights are a great solution. Best of all, they are easier to fit than you think. However, you should note the rules regarding wiring in your own home are very strict. To stay legal it may be better to get a qualified Sydney electrician to do the work for you. It’s certainly less hassle. If you decide to do it yourself you’ll need:
- Cordless drill
- A circle cutter appropriate for your ceiling, usually just drywall
- Wire cutters & strippers
Plan First
Before you get started you need to look at where you want to position the lights. Low-profile LED lights are now surprisingly bright and will fit under joists, which means you can position them anywhere in the ceiling. Take a few moments to draw the kitchen on a piece of paper and draw the LED light positions. It will help ensure you’re happy with the finished project. Once you are sure you’re happy you’ll need to draw the same marks onto your ceiling.
Cut The Holes
It makes sense to cut all the holes at the same time. Simply add the circle cutter to your cordless drill and carefully drill the required holes in your ceiling. Don’t forget to wear safety goggles, there will be a lot of dust and it’s going to fall down directly onto you. Of course, if you can get to the space above the kitchen you can drill the holes from there, you may find that much easier.
Remove Original Light
You probably have a light fitting in the middle of the room. You’ll want to remove this. That means shutting off the power to the light before disconnecting it and removing the fittings. You can make the existing hole larger to accommodate a low-profile LED light to simply fill it in to make it disappear.
Wiring
The first stage of wiring is easy. You’ll want to run wires between each of the holes. But, before you do this it is important to know where your original lighting wires are. These will be the power source for your LED lights. You can use the wires from your original light and connect them to each LED light, one at a time.
Position on our cables and then wire each light in before pushing it into the hole and allowing the springs to click and hold it in position. The last LED light to wire should be the one connected to the main power. Once this has been done the power can be turned back on and the lights should work. However, remember that electricity is dangerous, so it is advisable to get an electrician to do this part for you.


 Technology4 weeks ago
10 Best Generative AI Tools to Scale Your Business in 2024


 Games2 weeks ago
A Brief History of Solitaire: From Cards to Computers


 Model3 weeks ago
Katelyn Ernst: Bio, Age, Lifestyle, Career, Hair & Eye Color, Net Worth


 Technology2 weeks ago
How To Enhance Your Learning With Duolingo Podcasts?


 Technology5 days ago
The Website Design Workshop: Crafting User-Centric Sites

You must be logged in to post a comment Login